- Home
- 1-Wire USB Interface Options
GuideCurrent hosts
1-Wire USB interface, Raspberry Pi and OWFS: running old sensors today
PCs lost their serial ports years ago, but 1-Wire sensors and serial-era kits such as the TEMP08 still work. A USB 1 wire interface, a USB-to-serial cable or a Raspberry Pi GPIO pin is all it takes to bring them back. This guide compares the options and shows how the readings reach Linux, OWFS and Home Assistant.
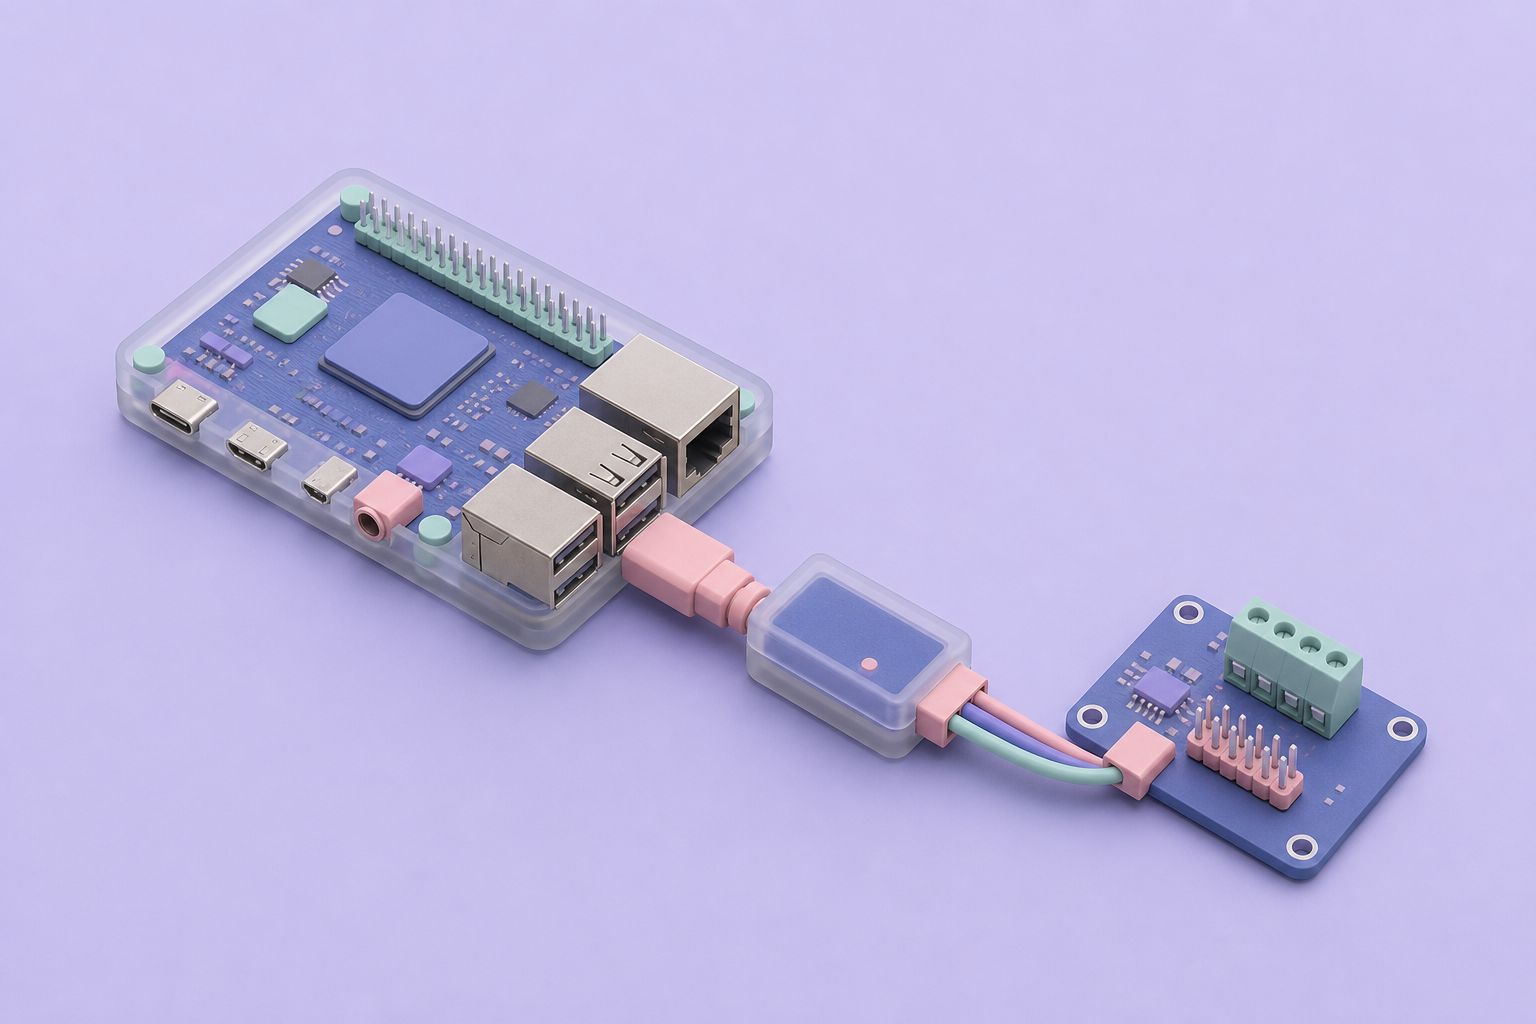
- Three ways onto a current host, including a 1-Wire USB interface
- Serial-era kits: TEMP08 over a USB-to-serial adapter
- USB adapters: the DS9490R and a USB 1 wire interface on Linux
- The Raspberry Pi GPIO route with w1-gpio and w1-therm
- OWFS, owserver and Home Assistant
- Comparing host options for Raspberry Pi, OWFS and Home Assistant setups
Three ways onto a current host, including a 1-Wire USB interface
There are three practical routes. The first keeps an existing serial kit and adds a USB-to-serial adapter, so the kit talks to the computer exactly as it did to an old COM port. The second replaces the kit with a USB 1 wire interface, a small adapter that acts as the bus master and lets software on the host address each sensor directly. The third skips USB altogether and drives the bus from a Raspberry Pi GPIO pin using drivers built into the Linux kernel.
Which one fits depends on what is already installed. A house with a working TEMP08, a wired sensor network and years of scripts built around its text output is best served by the first route. A new build, or one that wants each sensor as a separate device in home automation software, suits the second or third. All three can feed the same end points: log files, graphs, OWFS, or Home Assistant.
What stays the same
The sensors do not change. A DS18B20 is still family code 28h with a 9 to 12 bit resolution and a −55 to +125 °C range, and a DS2438 humidity board still reports two voltages and a temperature. The bus wiring rules also stay the same, so the network wiring guide applies whatever the host.
Moving a working installation
Before changing anything, record the serial number and location of every sensor from the TEMP08 DIS list or the existing log. Those 64-bit numbers are not printed on the sensors, and they are the only way to match a reading to a room once a different master takes over. The same numbers show up in the kernel's sysfs names and in OWFS directory names, only written in a different order and format.
Serial-era kits: TEMP08 over a USB-to-serial adapter
The TEMP08 does its own 1-Wire timing and sends plain text lines over RS232 at 9600 bps, 8 data bits, no parity, one stop bit and no flow control. Any computer that can open a serial port can read it. Midon Design tested the TEMP05 and TEMP08 with a Belkin F5U103 USB serial adapter and noted that others should work.
What the adapter must provide
- True RS232 levels on a DB-9 connector. Bare TTL or 3.3 V serial boards are not RS232 and can be damaged by, or fail to read, RS232 voltages.
- A straight-through cable, not a null modem, between adapter and kit, as the Midon FAQ specifies.
- A driver for the host. Adapters built on FTDI or Prolific chips have drivers in Linux and are widely supported on Windows and macOS.
On Linux the adapter appears as a device such as /dev/ttyUSB0, and the user needs membership of the dialout group to open it. A terminal program such as minicom or screen, set to 9600 8N1 with flow control off, shows the TEMP08 output; the same commands used in HyperTerminal (INI, DIS and the rest) still apply. HomeSeer users can follow the TEMP08 HomeSeer setup with the USB port's COM number.
The TEMP08 also has a USB power connector, J2. It supplies power only, not data, and when used instead of the J1 input the +12 V output on J3 is not available.
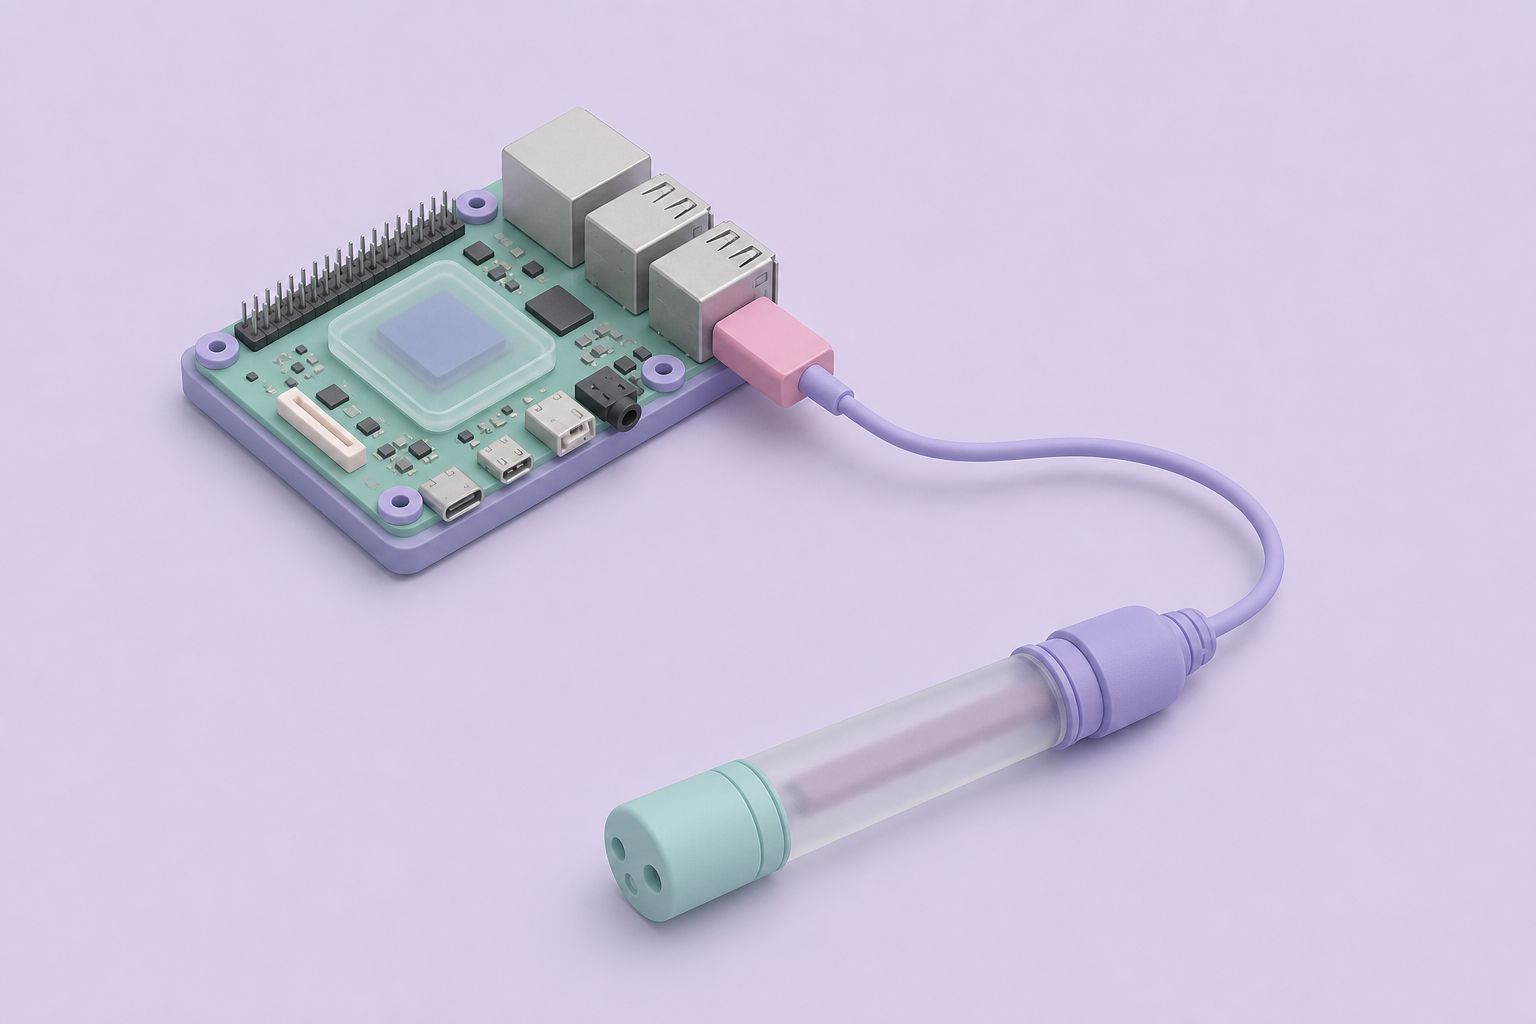
USB adapters: the DS9490R and a USB 1 wire interface on Linux
The best-known 1-Wire USB interface is the Maxim DS9490R, a small USB adapter built around the DS2490 USB-to-1-Wire bridge chip, with an RJ11 jack for the bus. The host sees the adapter as a bus master and addresses sensors directly, so there is no text protocol to parse; every temperature, counter and voltage is read on demand.
On Linux one wire support comes in two layers. The kernel's w1 subsystem includes a ds2490 master driver, and when the adapter is plugged in, devices appear under /sys/bus/w1/devices with names such as 28-0000012345ab. Alternatively, OWFS drives the adapter from user space through libusb. The two cannot share the adapter, so when OWFS owns a DS9490R the kernel's ds2490 module is normally blacklisted.
Choosing a USB 1 wire interface
Look for an adapter with published driver support in the kernel or in OWFS, a strong enough pull-up for the network length, and a jack whose pinout matches the network. Check the pinout carefully: RJ11 schemes differ between makers, as the RJ11 versus RJ12 note explains. A 1-Wire USB interface drives the same bus a TEMP08 did, so cable length and topology limits do not change.
The Raspberry Pi GPIO route with w1-gpio and w1-therm
A Raspberry Pi can act as a 1-Wire master with no adapter at all. The kernel's w1-gpio driver bit-bangs the protocol on one GPIO pin, and w1-therm reads DS18S20, DS18B20 and DS1822 thermometers.
- Enable the overlay. Add dtoverlay=w1-gpio to config.txt (or enable 1-Wire in raspi-config) and restart the Pi. The default data pin is GPIO4, physical pin 7; a gpiopin= parameter selects another.
- Add the pull-up. Fit a 4.7 kΩ resistor between the data line and 3.3 V. The Pi's GPIO pins are 3.3 V only and must never see 5 V.
- Connect sensors. Wire DQ to the GPIO pin, ground to a ground pin, and VDD to 3.3 V for externally powered thermometers.
- Read the values. Each sensor appears as a directory under /sys/bus/w1/devices. Its w1_slave file ends in t= followed by the temperature in thousandths of a degree Celsius.
- Log or publish. A short script, OWFS or Home Assistant can take it from there.
The same Raspberry Pi can also host a TEMP08 through a USB-to-serial adapter, which keeps an existing sensor network intact while moving the host software onto a small, quiet computer. Mixing 5 V kit wiring directly onto Raspberry Pi GPIO is the one thing to avoid.
OWFS, owserver and Home Assistant
OWFS, the 1-Wire File System, presents every device on the bus as a folder of small files. A thermometer becomes a directory such as 28.0000012345AB containing files named temperature, type and address; reading the file triggers a reading from the sensor. OWFS supports USB adapters such as the DS9490R and serial masters such as the DS9097U.
Its core program, owserver, owns the bus and shares it over the network on TCP port 4304. Other OWFS tools connect to it: owfs mounts the tree as a FUSE file system, owhttpd serves it as web pages, and command-line tools such as owread and owdir read single values. Because owserver can serve several clients at once, it is the usual hub for a 1-Wire network on Linux.
Home Assistant
Home Assistant's 1-Wire integration connects to an owserver instance, by host name and port, and creates entities for supported devices: temperature, humidity from DS2438 based boards, counters and switches. That makes owserver the bridge between a USB 1 wire interface and Home Assistant. A TEMP08 is not an owserver master, so its serial output is read by a separate script or a serial integration instead.
Comparing host options for Raspberry Pi, OWFS and Home Assistant setups
The table sums up the routes. On Linux one wire devices can be reached through either the kernel or OWFS, and most setups end up with owserver in the middle.
| Route | Hardware | Host software | Best for |
|---|---|---|---|
| Serial kit over USB | TEMP08 plus RS232 USB-serial adapter | Terminal, scripts, HomeSeer | Keeping an existing kit and its wiring |
| 1-Wire USB interface | DS9490R (DS2490 bridge) | Kernel ds2490 driver or OWFS | New builds on a PC or server |
| Raspberry Pi GPIO | GPIO4 plus 4.7 kΩ pull-up | w1-gpio and w1-therm drivers | Small thermometer networks |
| Networked hub | Any of the above on one host | owserver on port 4304 | Home Assistant and several clients |
The kernel's w1 documentation lists the supported masters and slave drivers, and the OWFS project pages list the adapters it drives. A USB 1 wire interface bought for OWFS should appear on that list.
Further reading: Linux kernel 1-Wire subsystem documentation · OWFS 1-Wire file system · Home Assistant 1-Wire integration
Questions and answers
Which 1-wire USB interface works best with Linux?
The Maxim DS9490R is the most widely supported. It uses the DS2490 bridge chip, which has a driver in the Linux kernel's w1 subsystem and is also supported by OWFS through libusb. Only one of the two should own the adapter at a time, so the kernel module is usually blacklisted when OWFS is used.
Can a TEMP08 use a 1-wire USB interface instead of its serial port?
No. The TEMP08 is itself a bus master with an RS232 output, so it connects to a computer through a USB-to-serial adapter with true RS232 levels and a straight-through cable. Midon Design tested the Belkin F5U103 successfully. Its USB connector J2 supplies power only.
How do I enable 1-Wire on a Raspberry Pi?
Add dtoverlay=w1-gpio to config.txt, or enable 1-Wire in raspi-config, and restart the Pi. Connect the data line to GPIO4 with a 4.7 kΩ pull-up to 3.3 V. Thermometers then appear under /sys/bus/w1/devices, read by the w1-therm driver. Never connect 5 V signals to the Pi's GPIO pins.
What does owserver do?
Owserver is the core of OWFS. It takes exclusive control of the 1-Wire master, whether a USB adapter or a serial one, and shares the bus over the network, by default on TCP port 4304. Other OWFS tools, and Home Assistant's 1-Wire integration, connect to it as clients.
Does Home Assistant read 1-Wire sensors directly?
Its 1-Wire integration connects to an owserver instance and creates entities for the devices owserver reports, such as thermometers, DS2438 humidity boards and counters. Readings from a serial kit like the TEMP08 need a separate script or serial integration instead, because the TEMP08 is not an owserver master.
Related pages
TEMP08 Serial One Wire Interface
TEMP08 linked a PC serial port to the 1-Wire bus: up to 60 sensors for temperature, humidity, rain, wind and relays, plus a real-time clock and RJ-12 jack.
Setting up HomeSeer to use TEMP08
How HomeSeer read a TEMP08: open the COM port at startup, add virtual devices R1 onward, use an event script to store temperature, humidity and wind data.
RJ11 versus RJ12 connectors
RJ11 vs RJ12 explained for 1-Wire: 4-contact and 6-contact modular jacks, pin numbering, and where DQ, ground and power sit on TEMP08 and Maxim wiring.
1-Wire Network Wiring
1-Wire network wiring explained: linear bus versus star topology, CAT-5 pairs, cable length up to 300 ft, parasite power and RJ11 and RJ12 jack pinouts.