Kitand software
Using the PROG05 kit: DOS software, commands and programming steps
PROG05 was the kit version of the Midon Design programmer for the Motorola 68HC705C8 and C8A. The hardware was a small serial board; the day-to-day work happened in a DOS program on the PC that loaded code into a buffer, checked the chip and burned it. This page explains that software, the procedure from the instruction manual and the choice between OTP and EPROM parts.
- Targets68HC705C8, C8A
- SoftwarePROG7 for DOS
- Default portCOM1
- Discontinued2002
First published January 10, 2005 · Text rewritten 2026
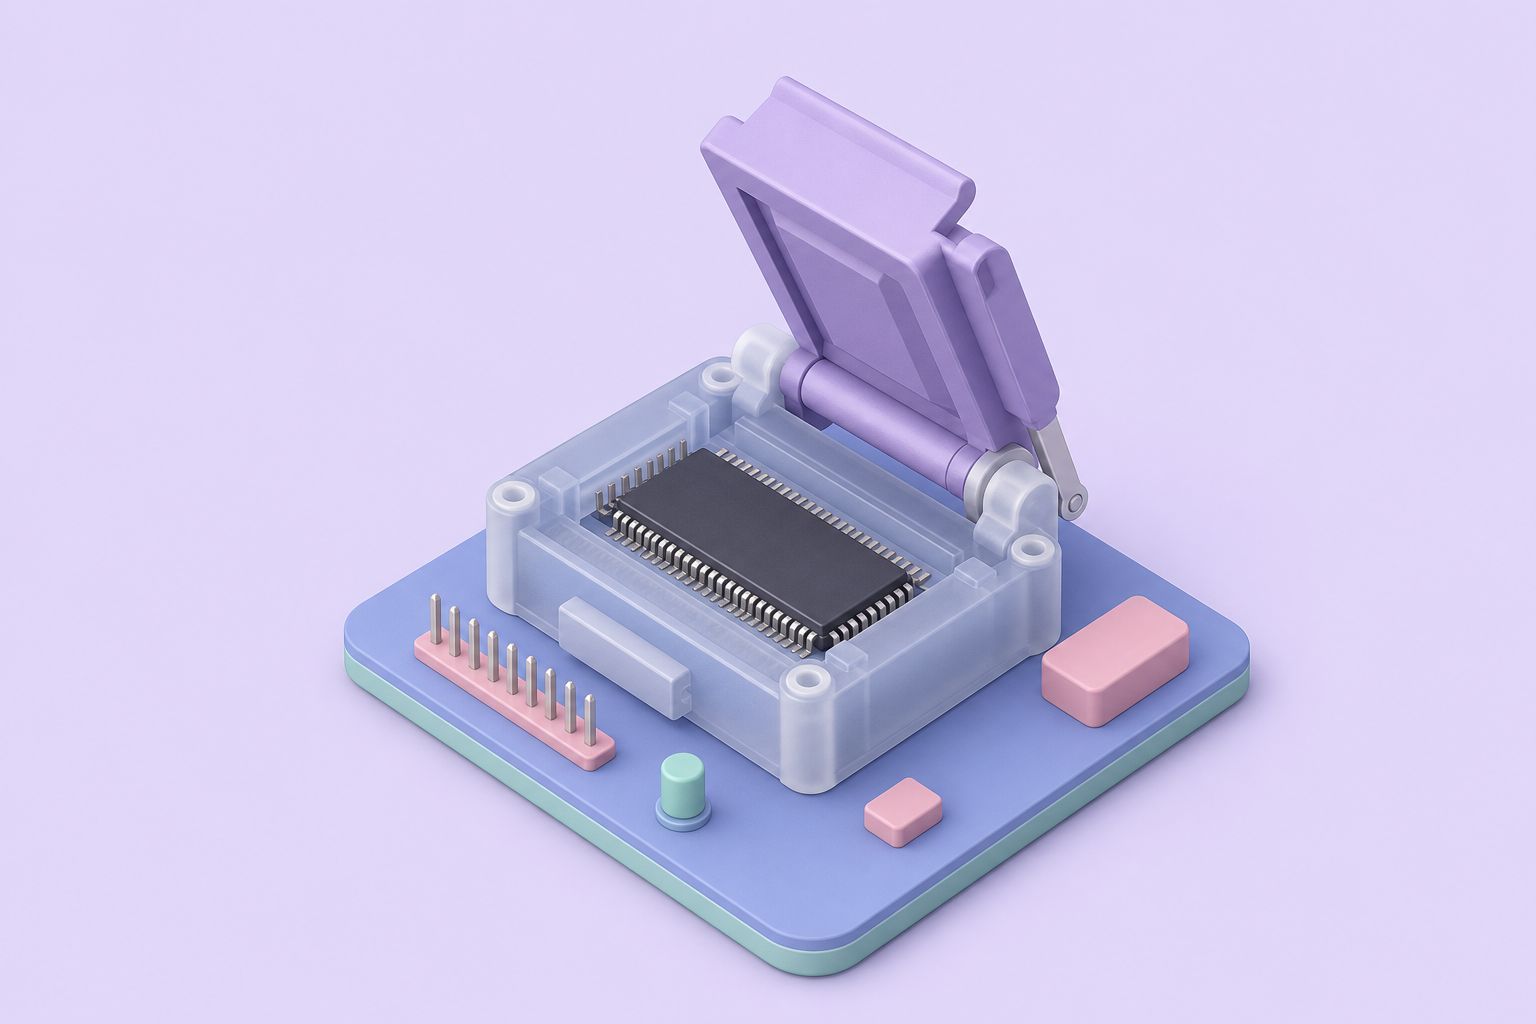
The PROG05 kit
PROG05 bundled the programmer circuit with an instruction manual and a DOS-compatible PC program called PROG7 (sometimes written PROG07). The circuit itself, with its MAX233 serial driver, LM78L05 regulator and 15.5 VDC programming input, is described part by part on the 68HC705 programmer circuit page. This page is about using it.
The software was written by an outside developer rather than by Midon Design, and its source code remained that author's property. Midon Design distributed the executable alongside the kit and listed it in its documents and downloads index. Hardware and software were designed together for the 68HC705C8 and 68HC705C8A only; neither can program other processors, including other chips in the HC05 family.
The kit had a short commercial life. Midon Design discontinued it in 2002 after demand for kits dried up, and no stock of the printed circuit boards remained afterwards. The board had been laid out on an older proprietary design system, so no usable PCB design files survive. The instruction manual does include a graphic of the PCB layout in its Appendix 1, which is enough for anyone who wants to redraw the board in a modern tool or simply wire the circuit on perfboard.
OTP or EPROM parts
The 68HC705C8 was sold in two forms that share the same silicon and pinout. PROG05 programs both, and the choice between them depends on whether the code is still changing.
| Property | OTP version | EPROM version |
|---|---|---|
| Package | Plastic DIP, no window | Ceramic package with a quartz window over the die |
| Reprogrammable | No, written once | Yes, after erasure |
| Erasure | Not possible | Ultraviolet light through the window |
| Typical use | Production runs and finished kits | Development and debugging |
| Programming on PROG05 | Supported | Supported |
A windowed part is erased by exposing the die to short-wave ultraviolet light in an EPROM eraser. Afterwards the window should be covered with an opaque label, because daylight and fluorescent light contain enough UV to disturb the stored bits over time. The software's blank check tells whether an erased chip is really clean before a new program goes in.
Inside the PROG7 software
PROG7 is a text-mode DOS program that talks to the programmer over a PC serial port, COM1 unless told otherwise. Everything revolves around a memory buffer on the PC: code is loaded into the buffer, inspected, then written to a chip or saved back to disk. Each command asks whether it should act on the chip's ROM (the EPROM program area) or its RAM.
| Key | Command | What it offers |
|---|---|---|
| D | Dump | Display the contents of the chip or of the buffer, ROM or RAM |
| L | Load buffer | Fill the buffer from a file or by reading a chip; flush the buffer |
| W | Write buffer | Save the buffer to a file, or send it to the chip |
| P | Program chip | ROM: blank check, program, verify. RAM: program, verify |
| C | Check | Test the link to the programming module |
| Esc | Exit | Leave the current command |
The main prompt also lists a question mark for help. The check command has a blink companion that flashes the board's PROG and VERF LEDs alternately, which is the quickest proof that the PC and the programmer are communicating.
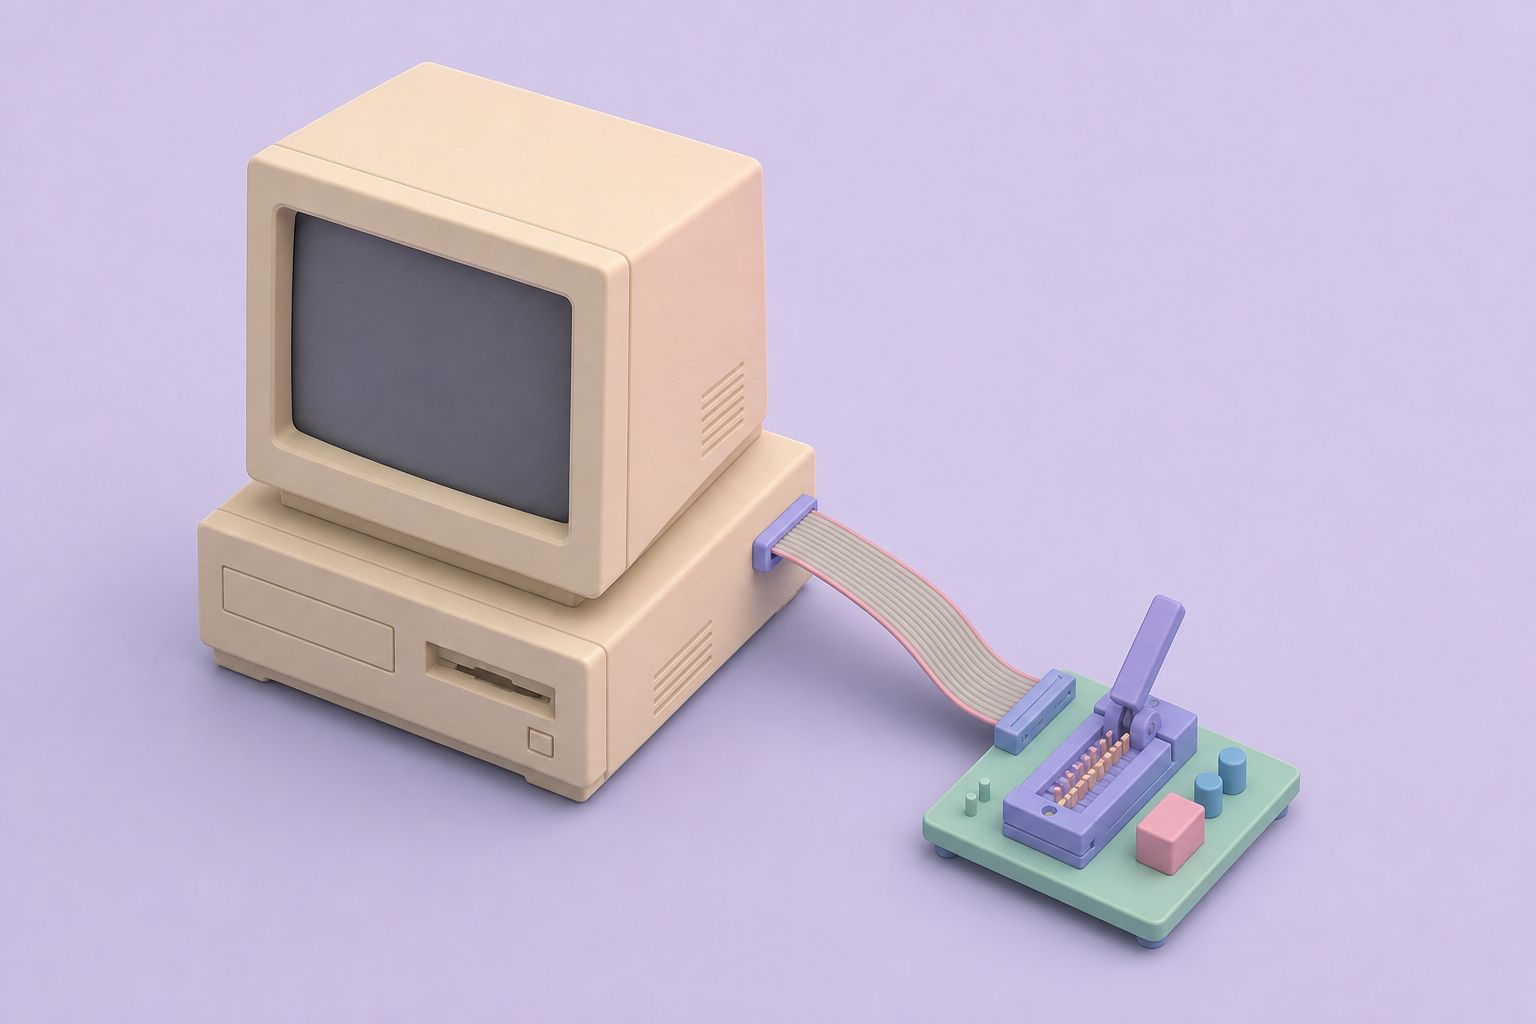
Programming a chip, step by step
- Prepare. With the board unpowered and the 15.5 VDC programming supply disconnected, place the 68HC705C8 in the ZIF socket with pin 1 correctly oriented.
- Start the software. Connect the serial cable, run PROG7 on the PC, then power the programmer.
- Check the link. Use the check and blink commands and watch the LEDs alternate. If nothing happens, confirm the cable, the COM port setting and try the reset button.
- Load the code. Use Load buffer from file to bring the program image into the PC buffer, and Dump to look it over if needed.
- Blank check. Under Program chip, choose ROM and run the blank check, which matters most for an erased EPROM part.
- Program. Start Program ROM and connect the programming voltage to P2 when the software asks for it.
- Verify. Run Verify ROM so the chip is compared against the buffer, then remove VPP, power down and take the part out.
The S1 and S2 prompts
PROG7 was written for a generic 68HC705C8 programming arrangement, not only for the Midon board, and when it runs into a problem it may ask the operator to work switches called S1 and S2. The kit documentation explains how those map onto PROG05. S2 is the same as the reset push-button on the board. S1 does not exist as a switch; turning the programmer's power off and on has the same effect as operating S1. Knowing this mapping saves confusion the first time a prompt refers to a switch that is nowhere to be seen.
Most other trouble traces back to the serial side. The software needs a real serial port or a converter that DOS can see, the right COM port selected, and a cable that passes the transmit and receive lines straight through to the board's DB-9 connector.
Running it today
A DOS program that drives a serial port directly is easiest to run on an older PC that boots DOS and still has a built-in COM port. DOS emulators on modern systems can pass a host serial port through, but programming is sensitive to timing and the results vary, so a period machine remains the dependable option. Motorola's microcontroller business later became part of Freescale and then NXP, and the HC05 line is long obsolete, so new C8 parts are hard to find.
For maintaining existing kits the practical choices are rebuilding this programmer from the published circuit, or using a general-purpose device programmer that explicitly lists the 68HC705C8 among its supported parts. The programmer for the smaller 68HC705K1 used in the STATX10 X-10 status display is a different, simpler parallel port circuit.
Questions and answers
What software did the PROG05 programmer use?
It used PROG7, a text-mode DOS program sometimes listed as PROG07. It communicates with the programmer over a PC serial port, COM1 by default, and works through a buffer: code is loaded from a file or read from a chip, then dumped, programmed, verified or saved. The program was written by an outside author who kept the source code.
Can PROG05 program other microcontrollers?
No. Both the hardware and the PROG7 software are specific to the Motorola 68HC705C8 and 68HC705C8A. Other HC05 parts, including the 68HC705K1 used in the STATX10, need a different programmer. The PROG05 handles both the OTP and the windowed EPROM versions of the C8.
Is a PCB for the PROG05 still available?
No. The project was discontinued in 2002 after demand for kits fell away, and no PCB stock remained. The board was designed on an older proprietary system, so design files are not available either. Appendix 1 of the instruction manual shows the PCB layout as a graphic, which can serve as a guide for a new board or a perfboard build.
What is the difference between OTP and EPROM 68HC705C8 chips?
They share the same circuit, but the OTP version sits in a windowless plastic package and can be programmed only once. The EPROM version has a quartz window that lets ultraviolet light erase the memory so the chip can be reprogrammed. OTP parts suit finished products, EPROM parts suit development.
What do the S1 and S2 prompts in PROG7 mean on this board?
The software was written for a generic programming setup with two switches. On the PROG05, S2 corresponds to the reset button. There is no S1 switch; switching the programmer's power off and on has the same effect. The kit documentation describes this mapping for anyone who meets the prompts.
Related pages
Build a Programmer for the 68HC705 MicroController
The 68HC705C8 programmer circuit: the chip's 8K EPROM and peripherals, a MAX233 serial driver, LM78L05 supply, 15.5 VDC programming input, bench build.
Documents
Manuals, application notes and datasheets behind the Midon 1-Wire kits, the 1-Wire application guide, a CD4094 reference and official datasheet sources.
Build an X-10 Status Display; the STATX10
STATX10 lit one LED per X-10 unit code 1 to 8 on a chosen house code, using a 68HC705K1 and a TW-523: circuit, build, testing and DIP switch settings.
Products
All Midon Design 1-Wire kits in one catalogue: TEMP05, TEMP08, LOG08, 1WSwitch, 1WIO, relay boards and programmers, compared by host link, function, era.